
Setting up your Vodafone dongle
STEP 1:
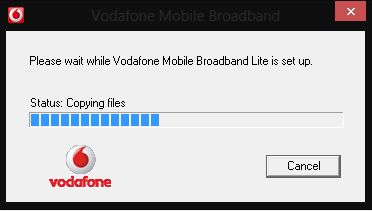
Insert SIM card into dongle. Once done, place dongle into the USB port on computer/laptop that you wish to use the device on. Once inserted, the installation process will automatically begin, (see image below). It may ask your permission to allow installation. Please accept any permissions. If your computer/laptop has not been setup for automatic installations, you will need to go to “My Computer” within your window explorer and select the dongle device from there.
STEP 2:
Once the computer/laptop has installed the drivers, you will need to click ‘Finish’ It will then start to install the software needed to run the dongle. If it does not start automatically, you will be able to continue the installation process by clicking on the Vodafone Mobile Broadband icon that would have been installed onto your desktop. When the Vodafone window pops up, please select ‘Vodafone UK’ and click ‘Next’.


STEP 3:
Once the installtion of the software is complete, you will then need to accept the terms and conditions by clicking on the “I accept” option, as can be seen in the image below. Once selected, click on ‘Finish’.

STEP 4:
You will then be asked whether the internet dongle is for a Pay and Go sim or Pay Monthly. Please select Pay monthly and click on ‘OK’. This can be seen in the image below. If you received an error message afterwards, this means that you sim card has not been placed in or is correctly positioned. If this is the case, pull out the dongle and double check the sim card is placed in the device correctly. Instructions for this can be found within the box that the dongle came in.


STEP 5:
The installation of the dongle is now complete. The software interface for the dongle will now appear. To set up your sim card for the dongle, please click on the ‘advance’ button in red. This is at the top right of the box. You can see an example below.

STEP 6:
Within the Advance screen, you will need to select ‘Properties’ at the top of the box. You will find this option between ‘Status’ and ‘Usage’. Once open, go down to ‘Mobile Connections’ and select the little arrow to expand the options. Then click on ‘Settings’. This will open up a new menu.

STEP 7:
This is the final step. The new box that has loaded will need to have the network APN settings added. Select the tab at the top of the box for ‘APN’ and go to the text box titled ‘Edit APN’. Type in “wap.vodafone.co.uk” and select ‘OK’. You are now setup for internet on your laptop or computer. You may need to restart your computer/laptop if it requests you to. It is always wise to when installing new devices. Once, the computer/laptop has been restarted, you will be able to load the internet by clicking on the Vodafone icon on the desktop. Most cases, it will load automatically, once the computer/laptop has loaded up.


Post a Comment